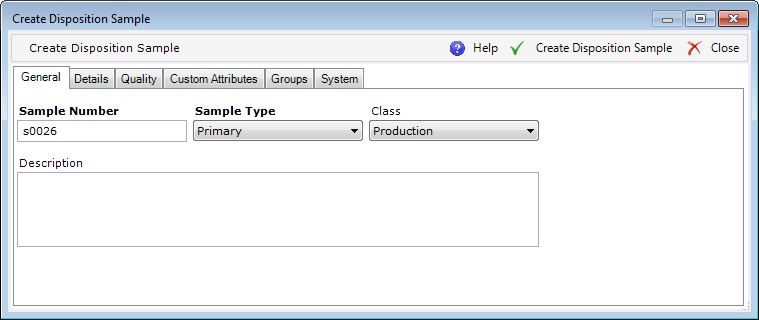
The Create Disposition Sample action displays the Create Disposition Sample dialog, which allows you to specify details for the new Disposition Sample to be created and assigned to the Disposition.
The Create Disposition Sample action
displays the Create Disposition Sample dialog, which allows you to specify
details for the new Disposition Sample to be created and assigned to the
Disposition.
| Field | Req | Init | Mod | Description |
| Sample Number |
|
|
|
The unique number (name) of the sample |
| Sample Type |
|
|
|
The type of sample. Possible values are:
|
| Class |
|
|
|
User-defined class (type) of the sample. Classes are defined in the SAMPLE_CLASS database table. |
| Description |
|
|
|
Free-text (no translation) description of the sample. |
| Field | Req | Init | Mod | Description |
| Product Number |
|
|
|
The inventory attributes for the sample. The Product Number must match the product defined for the parent Disposition (ProductNo field in the General tab). |
| Container |
|
|
|
|
| Partner |
|
|
|
|
| Grade |
|
|
|
|
| Lot Number |
|
|
|
|
| Serial Number |
|
|
|
|
| Quantity |
|
|
|
|
| UOM |
|
|
|
|
| Facility |
|
|
|
|
| Warehouse Location |
|
|
|
| Field | Req | Init | Mod | Description |
| Status |
|
|
|
Defaulted to "Not Sampled." The status of the sample in the quality flow. Possible values represent the sequential stages of the flow. |
| Sampling Date | N/A | N/A | N/A | [AUTO] |
| Sampled By | N/A | N/A | N/A | [AUTO] |
| Return/Destroyed Date | N/A | N/A | N/A | [AUTO] |
| Returned/Destroyed By | N/A | N/A | N/A | [AUTO] |
| Comment |
|
|
|
Free-text (no translation) description of the Disposition Sample |
The Quality tab is not visible when the Disposition Sample is created in the Sample Repository.
See Custom Attributes.
This tab contains a grid allowing you to assign the sample to a specific group (of the Sample group type). Samples can be assigned to groups only after being created in the database (the newly created sample must first be saved).
See System.
After the necessary fields are filled in, click Create Disposition Sample. The Create Sample and Assign Sample to Disposition Business Component methods are executed sequentially in a single transaction that creates the new Disposition Sample entity in the database with a unique number and assigns it to a Disposition.
Upon each update of the Disposition Sample properties, the Update Disposition Sample and/or Update Sample Business Component methods are executed, depending on the fields updated.