- In the ADC, navigate to the Checkpoints screen and click
 (Add)
to create a new Checkpoint.
(Add)
to create a new Checkpoint. - In the General Properties tab, specify the Code (Checkpoint name) and the Description of the Checkpoint.
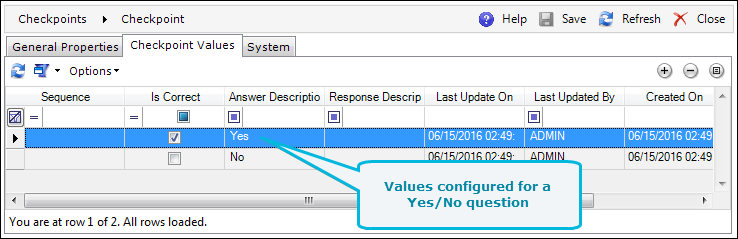
- In the Checkpoint Values tab, define
the Checkpoint's values (these are typically the answers to the
Checkpoint question; if the Checkpoint is to be used to verify
Scales, this tab should be left empty).
- If necessary, repeat the above steps to add more Checkpoints.
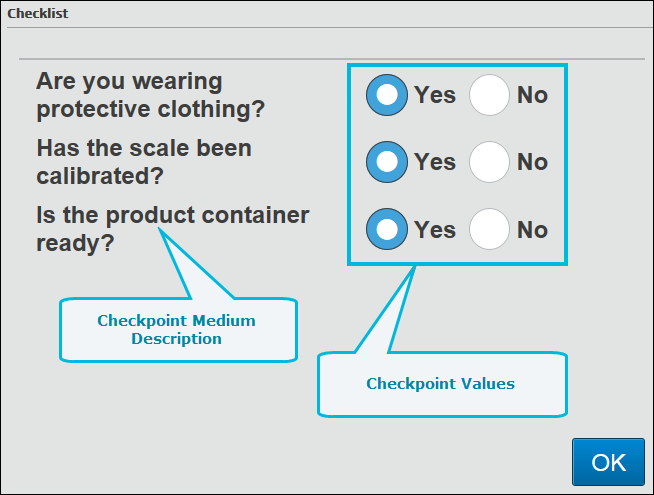
The Medium Description field contains the question the user has to answer or the target value to which a reading is compared in the case of a Scales verification scenario.
-
In the ADC, navigate to the Checklists screen and click
(Add)
to create a new Checklist. - In the Checklist General Properties tab, specify the Checklist Code (Checklist name) and enter the Description of the Checklist.
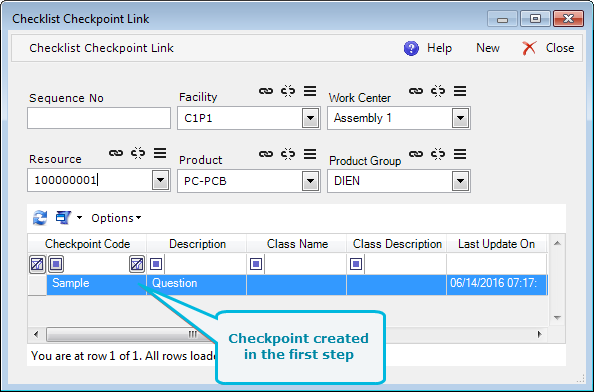
- In the Checkpoint Links tab, click
(Add) to link the Checklist to the previously created Checkpoints.
- In the Checklist Checkpoint Link
window, link one or more parameters to the Checklist to configure
in which circumstances it will be displayed.
If the Checklist is to be displayed before weighing can begin rather than during Scales verification, the predefined 'Weighing' Checklist must be used.